-
Announcement
Welcome to M1GC
-
Posts
1053 -
Joined
-
Last visited
-
Days Won
26
Content Type
Profiles
Forums
Gallery
Blogs
Store
Downloads
Events
Everything posted by M1GC
-
We would like to remind you that spamming, including the sending of unsolicited messages, excessive posts, or irrelevant content, is strictly prohibited on our platform. Spamming disrupts the experience for other users and violates our Community Guidelines. Please be advised: Do not send unsolicited messages or advertisements to other users. Avoid excessive posting or irrelevant content. Respect the community by engaging in meaningful conversations. Failure to comply with these guidelines may result in temporary suspension or permanent removal of your account. Thank you for your cooperation in keeping our platform safe and enjoyable for all users.
-
Description: Forza Mods AIO is a free FH4, FH5 and FM8 mod tool that aims to bring cool, new and unique features, all at NO cost! Features: If you want to get a list of all features, planned features and requested features, just look at our Trello. DOWNLOAD
-
M1GC is scheduled for maintenance for a site upgrade today.. Site may be unavailable during this maintenance.
-
Basic Commands for All Players Press T to open chat. Banking /givecash - gives the player an amount of cash Cityhall /drivinglicense - give player a license after a driving test Binds /binds - allows you to set customs key binds Diving /divingsuit - uses the diving suit Doorlock /newdoor - opens UI for creating new door /doordebug - debug for doorlocks Drugs /newdealer - creats a new dealer at a location (front door of house) /deletedealer - deales a saved dealer /dealers - show list if info on dealers /dealergoto - teleport to dealer Garbage /cleargarbroutes - removes garbo routes for user Hotdogjob /removestand - removes a hotdog stand Housing /decorate - opens decorate menu/options /createhouse - creates a house at location /addgarage - adds garage at location /ring - rings a doorbell at location Hud /cash - displays current cash amount /bank - displays current bank amount /dev - displays a dev icon Inventory /resetinv - resets inventory on stash/trunk/glovebox /rob - robs closest player /giveitem - gives item to a player /randomitems - gives random items to a player Lapraces /cancelrace - cancel the current race /togglesetup - turn on or off race setup Mechanicjob /setvehiclestatus - sets the vehicles status /setmechanic - give someone the mechanic job /firemechanic - fire a mechanic Multicharacter /logout - logout of current character /closeNUI - closes the multicharacter NUI Newsjob /newscam - gives player a a news camra /newsmic - gives player a news microphone /newsbmic - gives player a boom microphone Phone /setmetadata - sets the players metadata /bill - sends a bill* /invoice to player RadialMenu /getintrunk - Gets in the trunk /putintrunk - puts a player in the trunk (kidnap) Smallresources /resetarmor - resets the armor /resetparachute - resets a parachute /testwebhook - test to see if webhook for logs is working /id - displays your id Streetrace /createrace - starts a street race /stoprace - stops current street race /quitrace - quits the current street race /startrace - starts the current street race Towjob /npc - Toggles a tow job from a npc /tow - puts closes vehicle on flatbed (must be behind truck) Traphouse /multikeys - gives keys to another player Vehiclefailure /fix - fixes current vehicle Vehiclekeys /engine - toggles engine on/off /givekeys - gives keys to a player /addkeys - adds keys to that player /removekeys - removes keys from player Vehicleshop /transferVehicle - gift or sell your vehicle to someone Weapons /repairweapon - repairs a weapon
- 1 reply
-
- 1
-

-
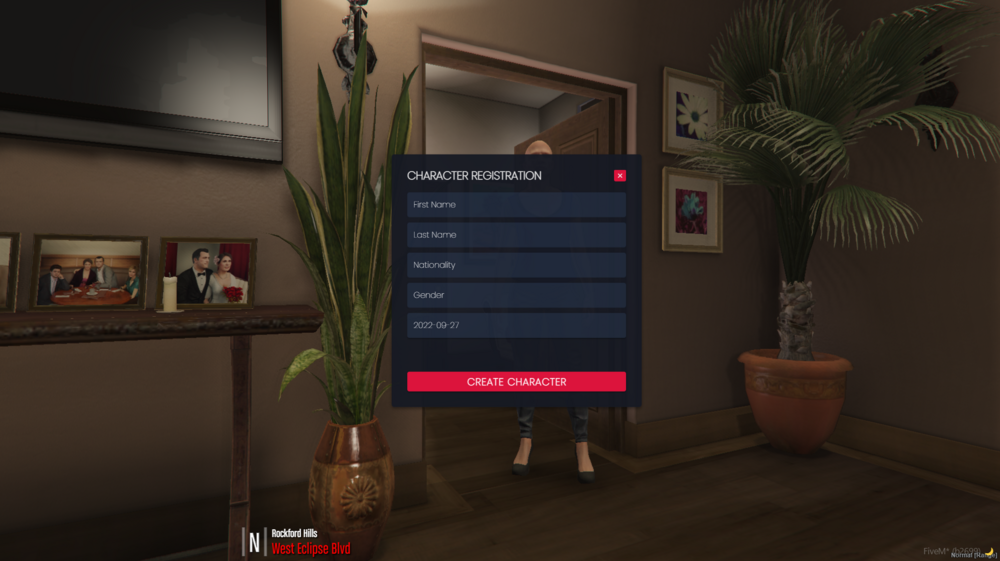
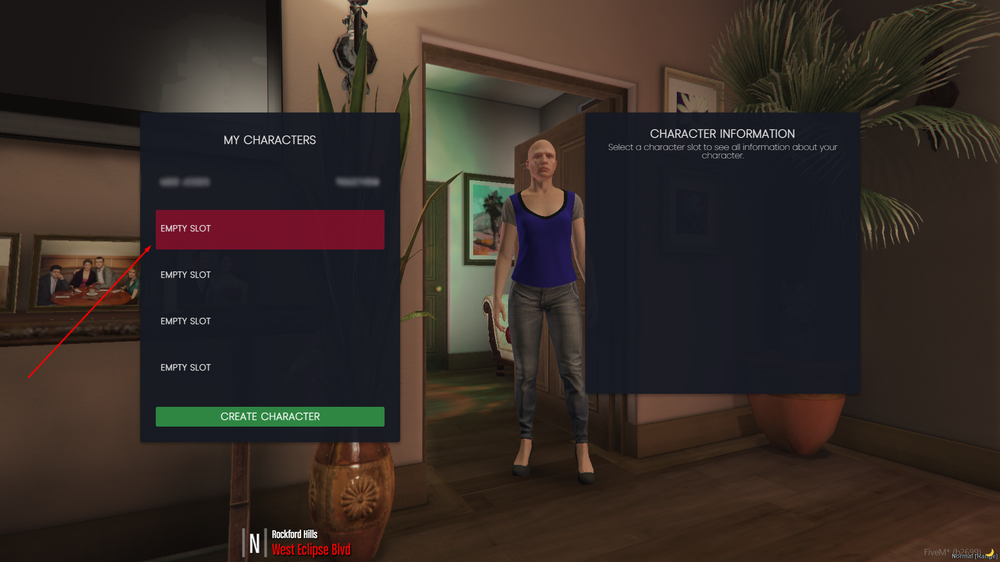
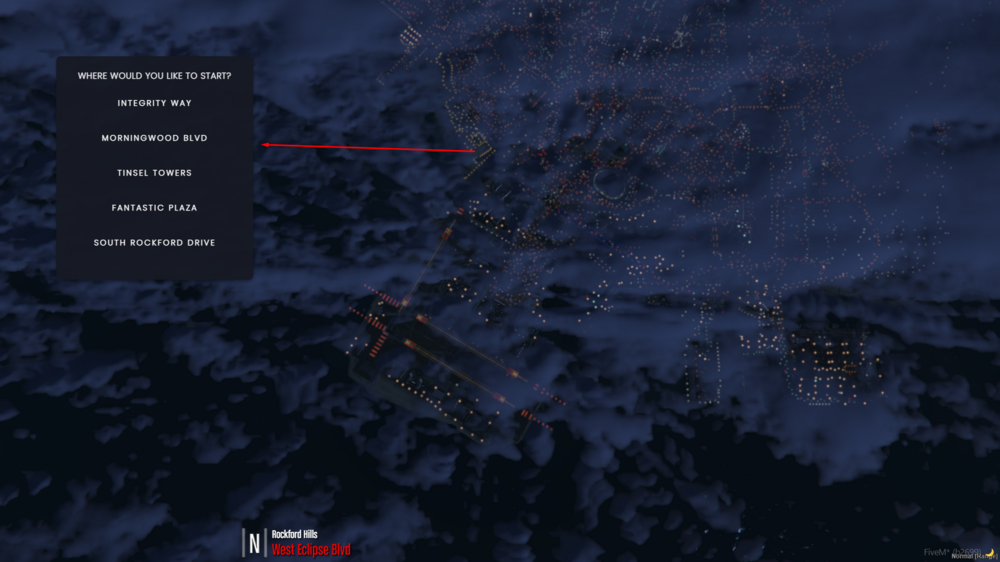
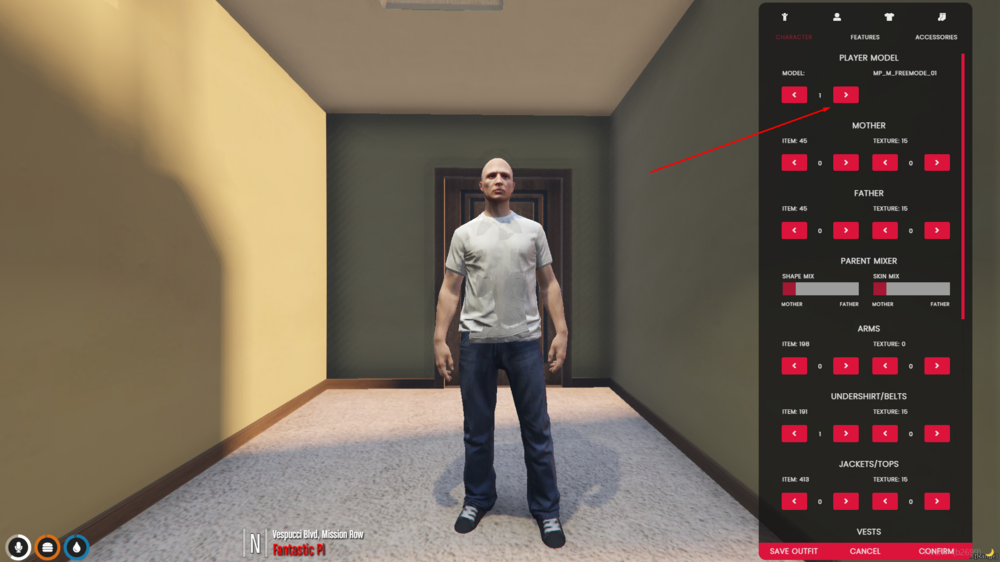
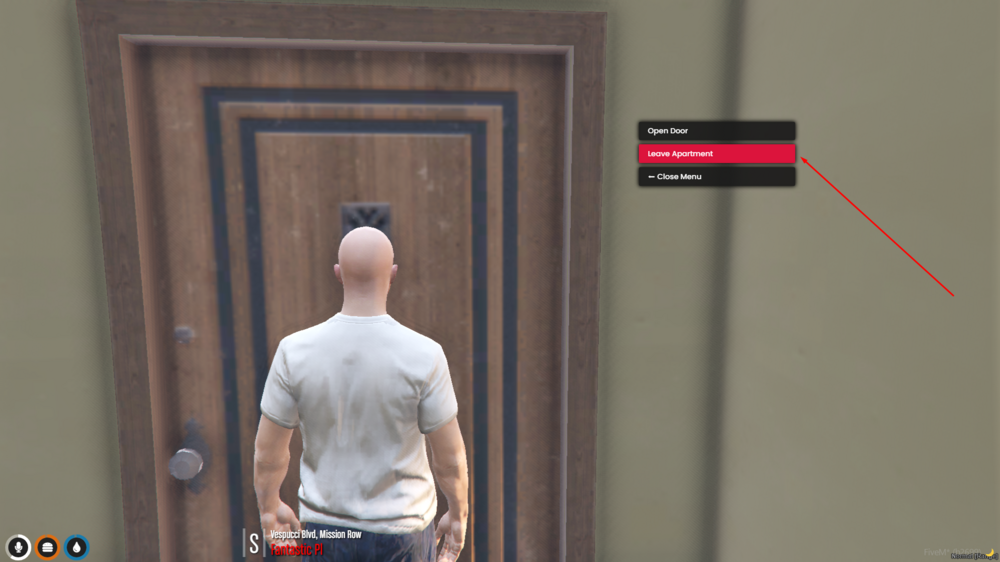
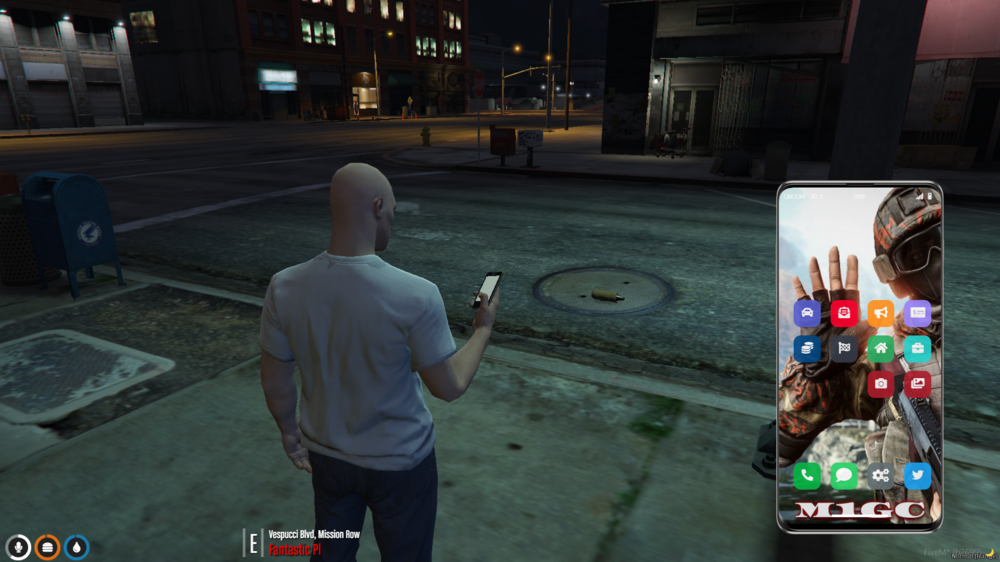
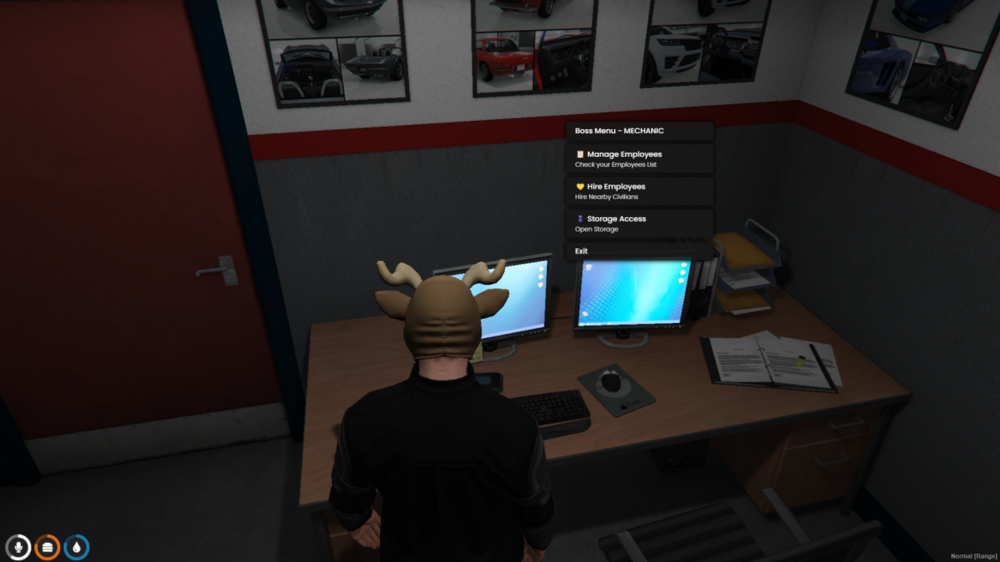
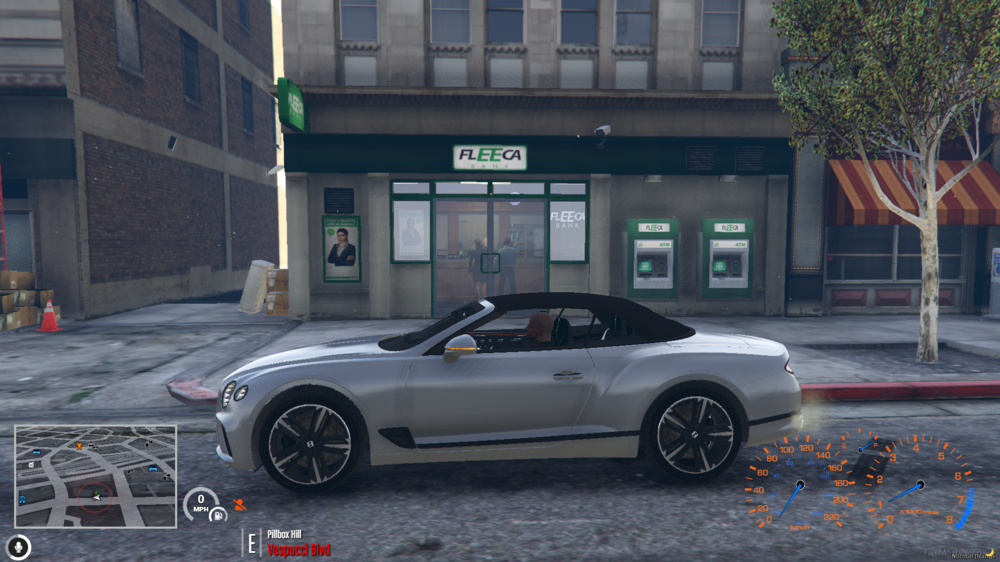
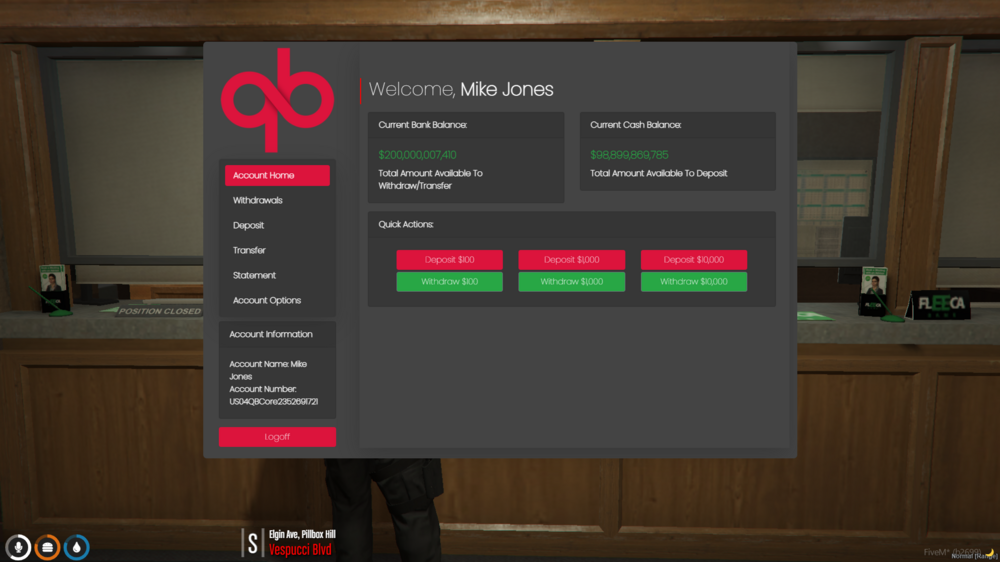
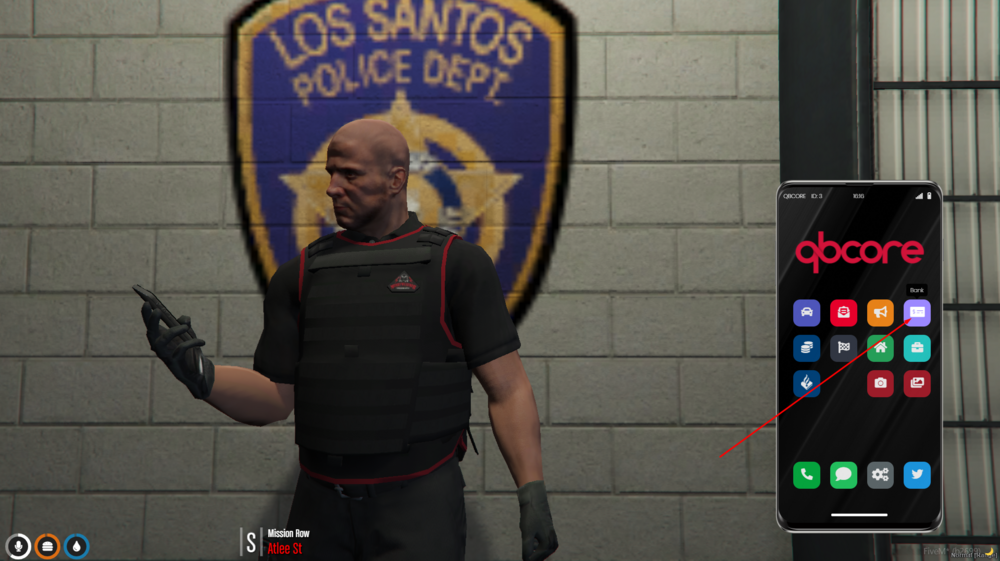
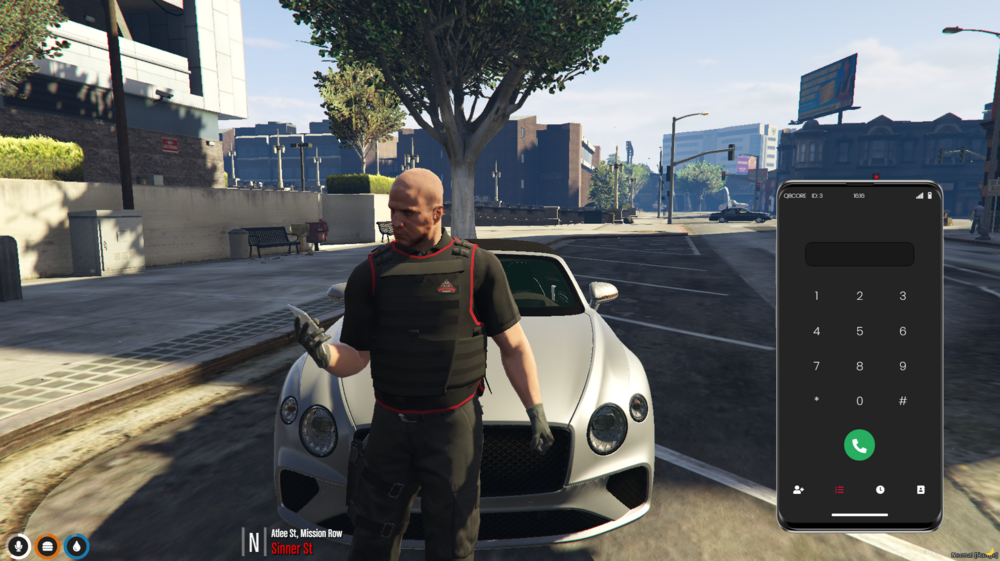
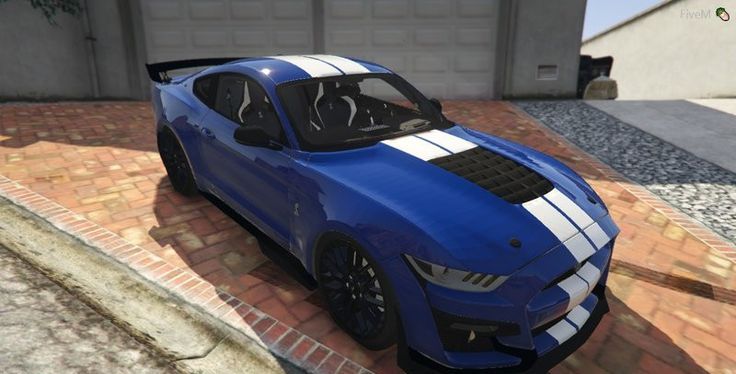
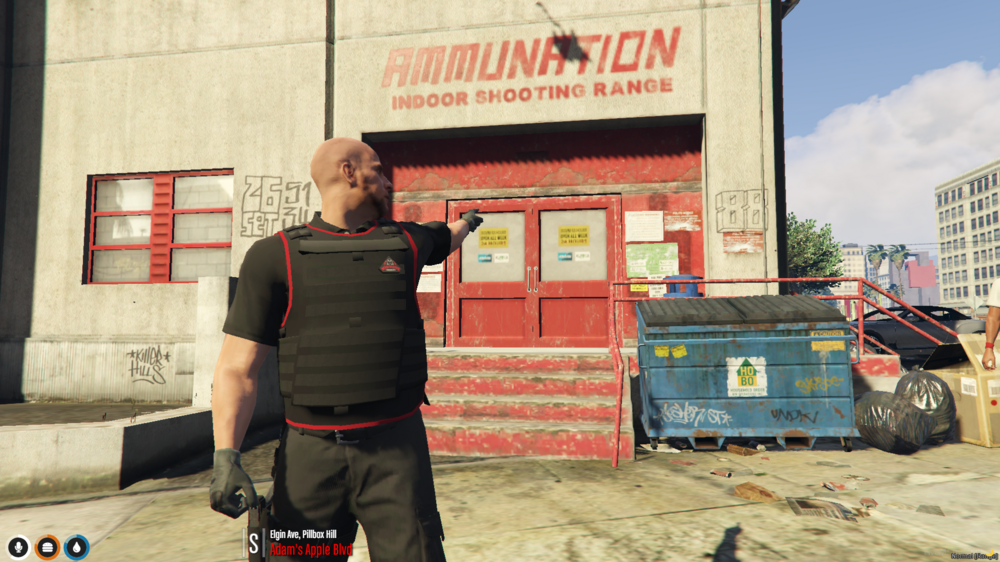
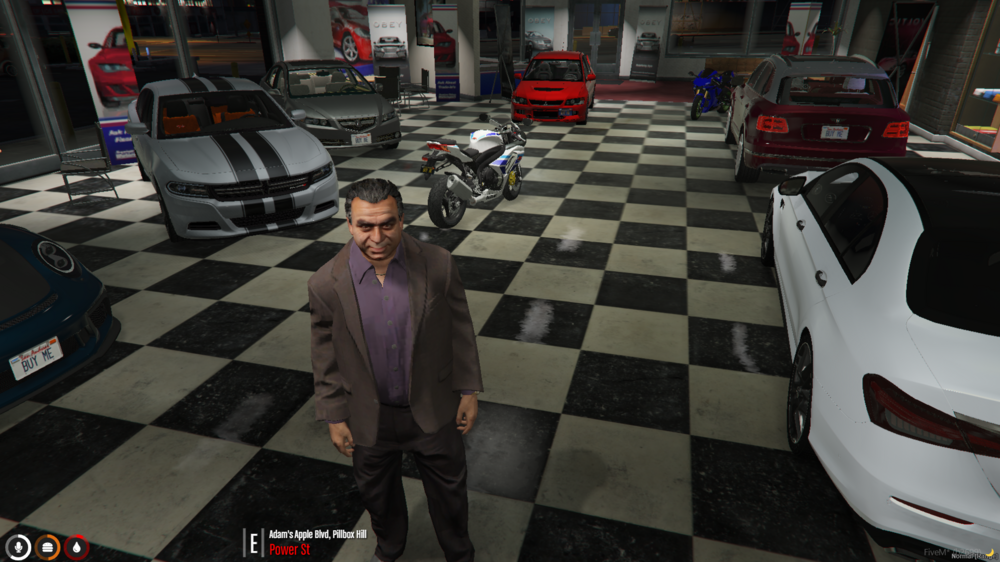
M1GC GTAV RP - FIVEM Server was launched as a supported game in order to expand the opportunities provided to members and gamers that hang around M1GC as well to provide a sucker free GTAV FiveM server, one of M1GC’s key qualities. The basic idea of FiveM is to introduce a great mod-ed multiplayer experience for those who play Grand Theft Auto V. M1GC has decided to take the challenge of opening a roleplay server using qbcore frameworks where players can live a normal life, whether it be collecting a paycheck, buying a car, robbing banks, mechanic, dealer, real estate agent, laywer, gang leader, or even saving lives as a cop.. This article will provide the information you need to understand how our 5m server base works. The M1GC FiveM server base provides a real life experience. First Join When you originally join our server, you will visit the Character Information screen, and be given an option to create a new character on a empty slot, You can create up to x5 separate Characters Once you Select a Character slot, select Create Character to continue, Character Registration, Enter a first and last name, date of birth, gender, and d.o.b. Now select and Apartment Complex you wish to live in. Customizing your Character Select a Character from the Default Custom Characters we add into the server and click Confirm to save your character. Clothing & Clothing Stores If you ever want to customize your look on the server, you can visit any of the clothing stores on the map. Walk into them and visit the circle in the store. You will have a menu to open and it is self-explanatory from there. Once you complete your character, you will now be free to roam your apartment, which will contain a Stash, and Clothing Dresser, were you can stash items, money, and change clothes. Exit your apartment by selecting Leave Apartment to start roaming the city. Getting Around There are many methods of getting around Los Santos. You could walk, bike, ride or drive in order to get to where you need to go. All parked vehicles will be locked, but you can steal parked vehicles by using lockpicks, Moving vehicles will be unlocked, You can steal a moving vehicle by yanking AI drivers out of there vehicle or if you have a Weapon, You can also CarJack drivers by aiming you gun at the driver. Be-Aware, these actions will alert police players in game of illegal activity. In order to get a bike/motorcycle, visit the car dealership (Simeon’s Dealership). In there you will find a car or motorcycle to purchase yourself a vehicle. If you don't have the money, you could also finance a vehicle. (will be covered more later in the guide). Can’t afford anything? Call for a taxi using your phone (M). Note that someone must be in the taxi driver job in order for you to get a response. You can also call for a ride in chat as some people do these as side jobs, such as an Uber. EATING DRINKING AND HEALTH Your character will get hungry, thirsty and lose stamina and health if doing to many stressful things such as running, driving fast, crashing while driving. Be sure to keep and eye on on health and visit stores for food, snacks, lighters, rolling papers, alcohol, and regular beverages, and visit hospitals for bandages and health / healing / revival products. If you get seriously injured, you will bleed out and eventually die. Only EMS and nearby players can revive you, so be very careful not to injure yourself to the point of death. If you die, you can be revived and respawned in the hospital for a small fee. Jobs If you wish to work, Visit City Hall For legit jobs. Want to work Illegally, You can either do some drug smuggling, sell cars. crypto, hotdogs, traffic drugs, drug distribution, or rob stores. When you rob a store or jewelry place, the police will be alerted. Any money received from doing illegal activities can be used to purchase drugs or pawnshop items. You can also sell to Pawnshops. Dealers and Gang Leaders can only sell drugs. All other jobs (Cop, Lawyers, Taxis, Real Estate Agents, Gangs, Mechanics, and Medic's) are whitelisted and require that you submit an application to those departments. Bank Accounts All players also have access to an account through Maze Bank. Just visit an ATM or bank to deposit/withdrawal money to and from your bank account. The bank has a UI to help you understand the process better and allows for the trading of funds between players and allows also trading and buying of crypto. You can also open / check / transfer and withdraw fund to and from your bank account via your cell phone. Mobile Phone Your phone functions as a phone would in real life, it allows you to message / call for services, other players, allows for calling other players for illegal activities, races, trade and also allows for and legal trade. Phone can take photos, checking on your houses, cars, call for services, setup races, check servers, add players to your contacts, check announcements, message other players in whatsapp looking format, allows to customize the phone, send in game tweets, and much more. You phone number and phone's serial number is Unique, Be sure to give out your phone number to other players. Phone works with your mic, so be sure to setup your microphone via game to be able to talk and listen to other players via your phone. Vehicles and Custom Vehicles Purchasing a Vehicle Once you have collected enough money, you can visit the vehicle shop at Simeon’s car dealership in downtown LS. Vehicles vary in price so it may be wise to visit the store before hand to get an understanding of how much money you will need. There are over 100+ custom vehicles you can purchase. Once you have purchased your car, it is will become registered to you. You will own the keys to the car, and license plate will be tied to you. This means that your name will come back whenever the plate is run by a police officer. If your vehicle is not registered, you may be taken to jail or cited for no registration. Be sure to lock your vehicle so no one else can have an easy time stealing it. Cars can be stolen with lockpicks, so be aware and be sure to park your car in your house garage or public garage. Insurance (aka the Impound) All vehicles are automatically insured and are recoverable by their owners. If you lose your car or time out and your car is gone and is marked “Out” in the garage, you can go to the impound icon on the map and recover your car for a fee. If your vehicle is impounded by the police (meaning a tow truck driver tows it), you can recover your vehicle for a cheaper price from them in most instances. Customizing & Repairing your Car Once you have your car, you can visit the Los Santos Customs marked on the map to deck out your car. There are a variety of options that cost different amounts. You CAN preview things prior to you actually purchasing them (so you can go through colors, window tints, etc. without actually selecting them). All modifications, including those done by others to your vehicle, will be saved to your car’s configuration the next time you take it out. Storing and Pulling out your Vehicles: Once you purchase your vehicle, you can store it in one of the many Garages (blue garages on the map up found in Legion Square and up in Paleto Bay). We HIGHLY recommend you do this prior to leaving the server that way your vehicle is safely stored. Once you store your vehicles, you can also pull them back out of the garage. It is important to note that if you do not put the car back in the garage, it will not return into the garage until the server is restarted and may be impounded. Vehicle Mechanics: There are two tools provided to players when it comes to your vehicles. They are fuel and vehicle controls. First, all vehicles have a fuel meter that can be found in the lower right-hand corner and on the lower left-hand to the right the minimap (displayed as a percentage). It is important you do not let that get all the way down or your vehicle will start stuttering and will shut off. Vehicles will experience realistic damage. In order to refuel, simply go to any of the gas can symbols on the map and pull up next to the pump and follow the instructions to add gas to your vehicle. Weapons Buying Weapons: In addition to buying vehicles, you can also buy weapons at the weapon shops on the map. These are marked by the marker titled “Ammunation.” To buy weapons, you will require a weapon license, visit city hall to buy one. Then visit a Weapon Shop, simply walk up to the shop owner (usually inside) and follow the prompt. Guns are realistic, they take time to pull out, reload, and will have realistic like sounds and animations when holstering and arming yourself. Weapons can also be used for: – Robbing stores and Players - Protection – Selling drugs – Gathering from other criminals Side Notes 1.The time, weather, traffic density, and ped density are all synced throughout the server. Individual players can not change their time on their own end. MORE DETAILS WILL BE POSTED ON HOW TO ADMIN THE SERVER! INFORMATION ON M1GC GTAV RP FEATURES AND ECONOMY WE LEFT OUT COMING SOON ADMINISTERING THE SERVER STORES FEATURES AND MECHANICS DRUGS FEATURES AND MECHANICS MONEY FEATURES AND MECHANICS GAS FEATURES AND MECHANICS PLAYER HEALTH, THIRST, FEATURES AND MECHANICS VEHICLE FEATURES AND MECHANICS GUN FEATURES AND MECHANICS VEHICLE AND GARAGE LOCKING FEATURES AND MECHANICS EMERGENCY AND SERVICES VEHICLES AND MECHANICS CUSTOM ITEMS AND MECHANICS HOUSE GARAGE FEATURES AND MECHANICS INVENTORY FEATURES AND MECHANICS GANGS FEATURES AND MECHANICS POLICE FEATURES AND MECHANICS EMS FEATURES AND MECHANICS LAWYERS FEATURES AND MECHANICS TAXIS FEATURES AND MECHANICS MECHANICS FEATURES AND MECHANICS CHAT COMMAND FEATURES AND MECHANICS AND MUCH MORE WE DIDNT TOUCH ON WILL BE ADDED...
-
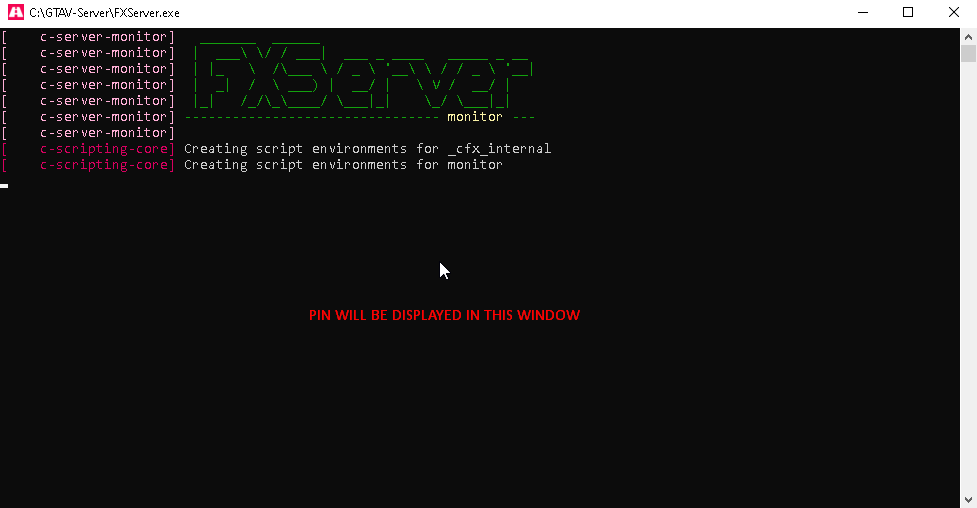
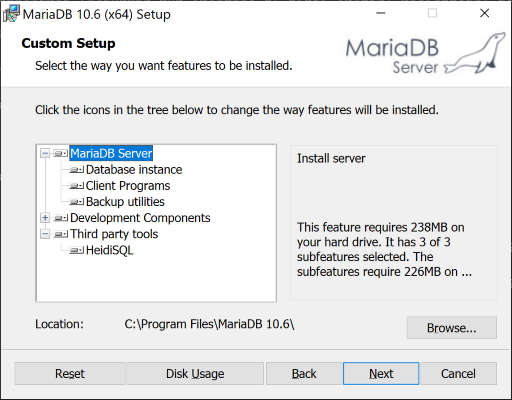
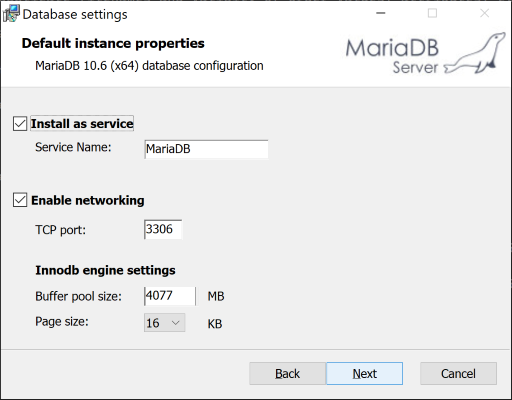
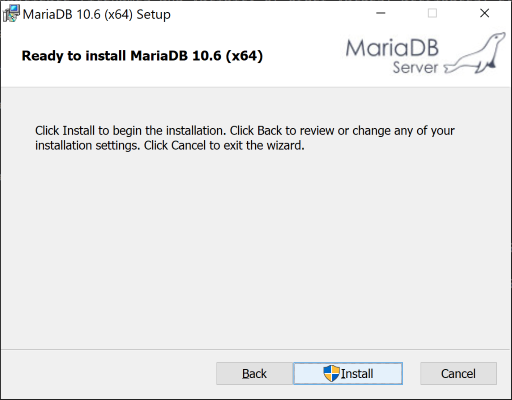
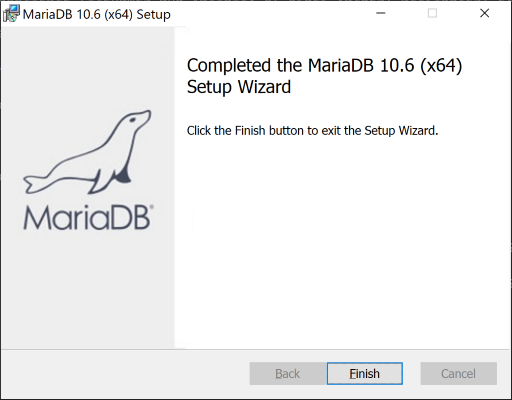
How to download the M1GC 5M server files Easiest way is get your Fivem server up and running is using a VPS, VPS Should contain a Windows Server 2019 or Above OS, with at lease 4 CPU Cores, 4GB ram. We recommend using M1-Serverz VPS or any other VPS provider you may wish to use. Once you have a Windows Server 2019 or 2022 VPS and have remotely logged-in Download FiveM Server w TXAdmin Go to the Windows server build listing ('artifacts' listing, as in 'build artifacts'). Download the latest recommended build. Open the server.zip you just downloaded. Extract it somewhere you want to store it. We'll pick C:\GTAV-Server\server. Open the folder you just extracted it to. It should look a little like this: To start the server Double click FXServer.exe. A command prompt will open with your PIN if it is will be Automatically Filled. This site below should open in your browser automatically as well. Make sure a PIN is filled, and click Link Account. Log in to your account on Cfx.re in this tab and then click Yes, Allow. Set a password to log in to your server's admin page. Click 'Next'. Type a name for your server and click 'Next'. Download M1GC FiveM Base files and Extract it to c:\txData Select to use a 'Local Server Data'. point the server config to the server config on c:\txData That's it. Before you run the server, Lets setup your database. Download our database file. You will need a myqsl database to run your FiveM Server. We recommend using MariaDB Server for Windows Server 2019 or 2022. We recommend MariaDB Server 10.9.3 the latest stable release. Download and Run the MariaDB MSI Installer. Click Next Install MariaDB Server Uncheck all except UTF8 Select to use UTF8 and as default servers character set. Then Select Next Select to install as a service & Enable Networking. (Do Not Change Service Name) Click Next You are now ready to install MariaDB Server Click install to complete the installation of MariaDB Server. That's it, You all finished. You can also use XAMPP but we do not recommend it as it is not meant for production. To connect to your Database, Download and install HeidiSQL To connect: Host: localhost username: root password : leave blank Import your M1GC 5M Database .sql file. Now you can start your server by using the defaul.bat file that was created.
-
About FivePD Latest Version: v1.5.1 (7/25/2021) FivePD is a unique FiveM game mode made by GTAPoliceMods Development Studios, where players play as a law enforcement officer within a FiveM server that has the FivePD game mode. Development for FivePD was first started in December of 2019 by @Natixco and @Daniel K.. However in January of 2020, GPM acquired FivePD and teamed up with both of the founders to continue the fantastic work. FivePD's goal is to be similar to the single-player mod 'LSPD:FR'; however, FivePD offers a unique way for you, your friends, or community to play all together as law enforcement officers. The thrill of performing traffic stops, arresting AI, responding to 911 calls, and other action-packed content is now available for FiveM.
-
vMenu Basic controls F1 - Open vMenu Backspace - Exit vMenu FIVEPD Basic controls F11 - Open duty menu Y - Accept callout and backup request Z - Open callout menu G - Open dispatch and scene management menu X - Open ped check menu (Also includes mimic etc during traffic stops) X - Set waypoint to the closest jail drop off point (only in vehicle if there is an arrest ped in the vehicle) Press and hold E (for about 2 secs) - Stop ped Press and hold E + aim (for about 2 secs) - Stop ped E - Stand close to a vehicle with a cuffed ped LSHIFT + E - Stand close to the trunk of a vehicle to take out the spike strips then press it again to lay them down. You can pick them up by pressing it again if you’re standing on them. If you go beyond 100m from them they will disappear automatically U - Put ped into jail. Only if you’re in a jail drop-off marker with an arrested ped J - Open the ID card panel, after you took a ped’s driving license Vehicle controls B - Open MDT. Driver can only access it if the vehicle is stopped. The passenger can access it anytime. LSHIFT - Blip the vehicle in front of you. To initiate the traffic stop turn on your lights. To cancel a traffic stop or a chase press and hold it for 3 seconds F9 - Toggle ALPR (Automated License Plate Readers) X - Open traffic stop positioning menu. Go to marker controls: move around marker with arrow keys, then press enter. (More info in the Notes section) LCTRL - Enable/disable cruise control. You need to enable the cruise control in the duty menu, before you can use it NUM+ - increase speed NUM- - decrease speed Chat commands These are available for everybody: /fdv - Delete the closest vehicle to you or the one you’re sitting in. It’ll delete the vehicle, all peds inside it and their blips if they have /fdp - Delete the closest ped to you /fdo - Delete the closest object to you. Note that it’ll only delete those objects that can be spawned with FivePD!
-
FiveM is a mod for GTA V which allows you to play multiplayer on customised and dedicated servers, and is powered by Cfx.re and relying on the RAGE (Rockstar Advanced Game Engine FIVEM CLIENT DOWNLOAD
-
ADMIN AND PLAYER IN GAME PLAYER COMMANDS ON M1GC GTAVRP https://docs.qbcore.org/qbcore-documentation/qb-core/commands#adminmenu More in depth, with be added soon!
-
Due to Limited Player Base, Were pulling the Ground Branch Server Down! We will keep all files available just in case we wish to restore the server if we have more players available.
-
Arma 3 Server has been upgraded to a new Ryzen 7 CPU, Faster ram, and game is now running on a SSD drive for better performance.
-
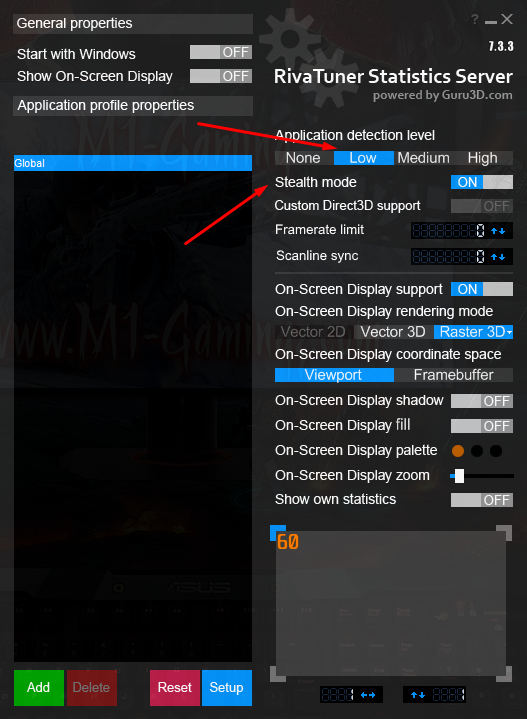
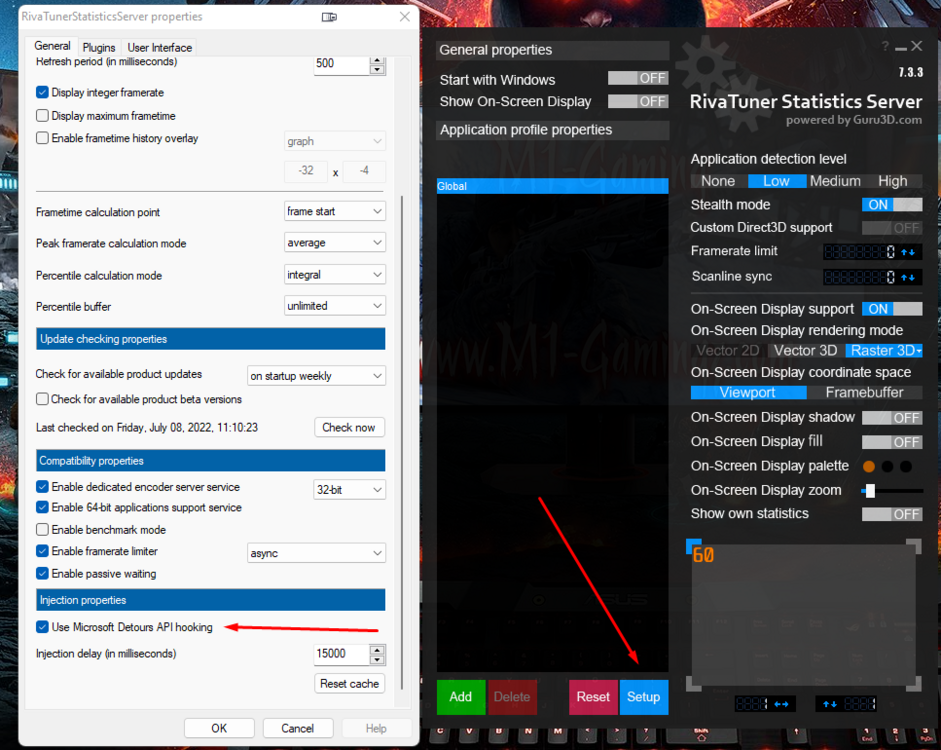
When using MSI Afterburner / Rivatuner to view your CPU, GPU, Ram, FPS, etc during your stream, Riva may cause your obs studio to become blank for certain games. To fix, Open Rivatuner, Set your Application detection level to LOW and turn STEALTH MODE ON Next, Click on Setup and Enable Use Microsoft Detours API Hooking. That's it. You can now use OBS Studio and MSI Afterburner with Rivatuner and no more blank screen.
-
- 1
-

-
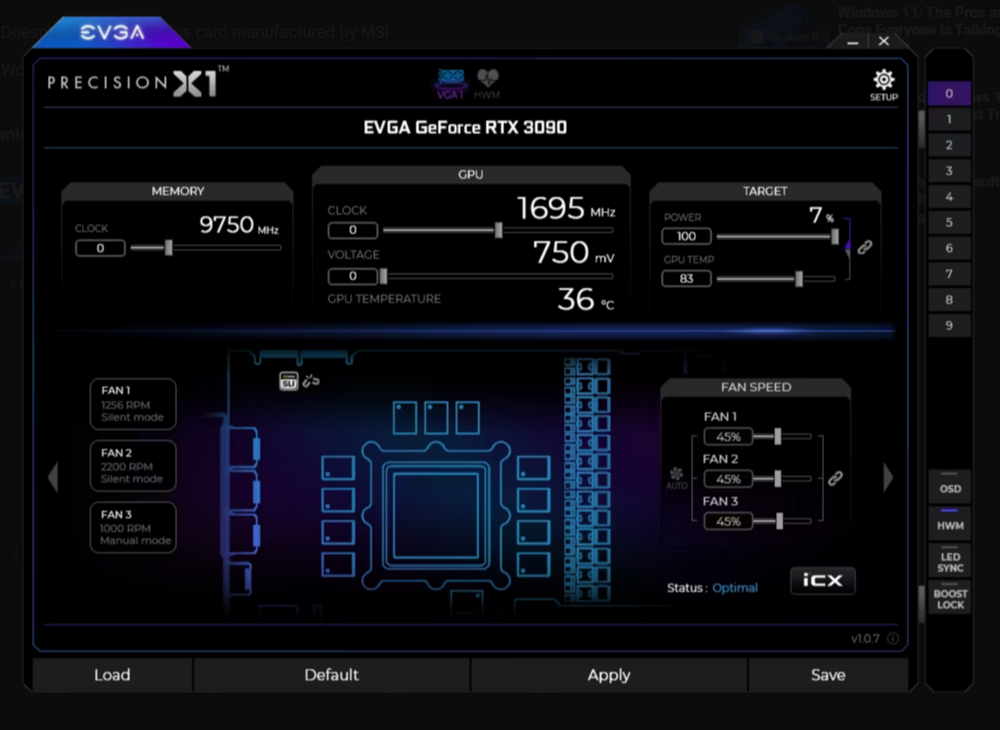
EVGA Precision X is another great, free-to-use software for gamers who want to push their laptops or gaming PCs to the next level. EVGA Precision X lets you create up to 10 custom user profiles for overclocking your NVIDIA GPUs with ease. However, we want to quickly point out that, unlike MSI Afterburner, Precision X does not support AMD GPUs since EVGA doesn't manufacture AMD graphics cards. Download EVGA Precision X
-
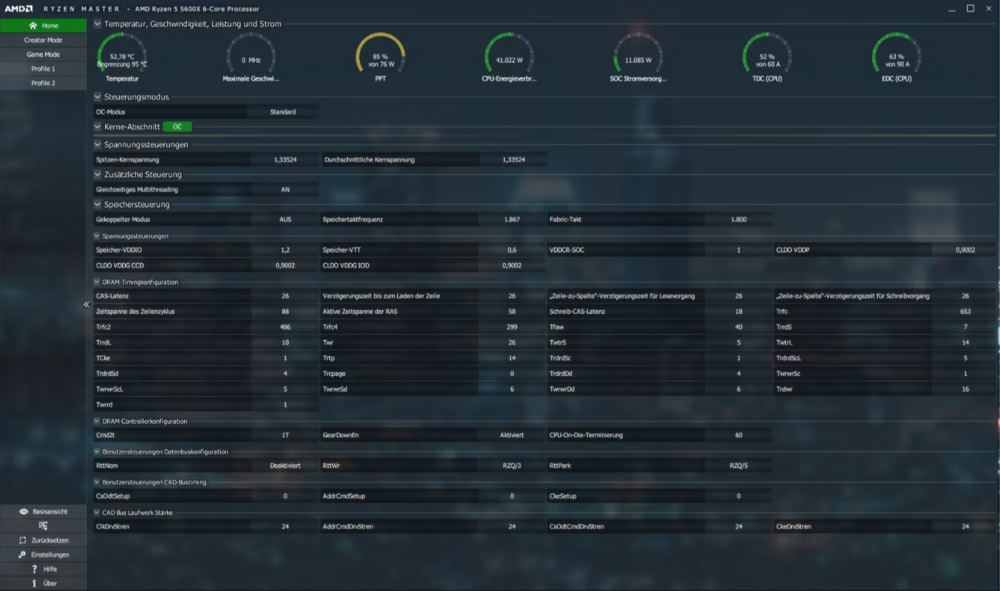
MD Ryzen Master is arguably one of the best CPU overclocking programs around. Consider this as AMD's answer to Intel's overclocking tool. Along with CPU overclocking, AMD Ryzen Master comes with pre-tuned settings to overclock your RAM and memory profiles to boost your DDR3 RAM performance. Download: AMD Ryzen Master (Free)
-
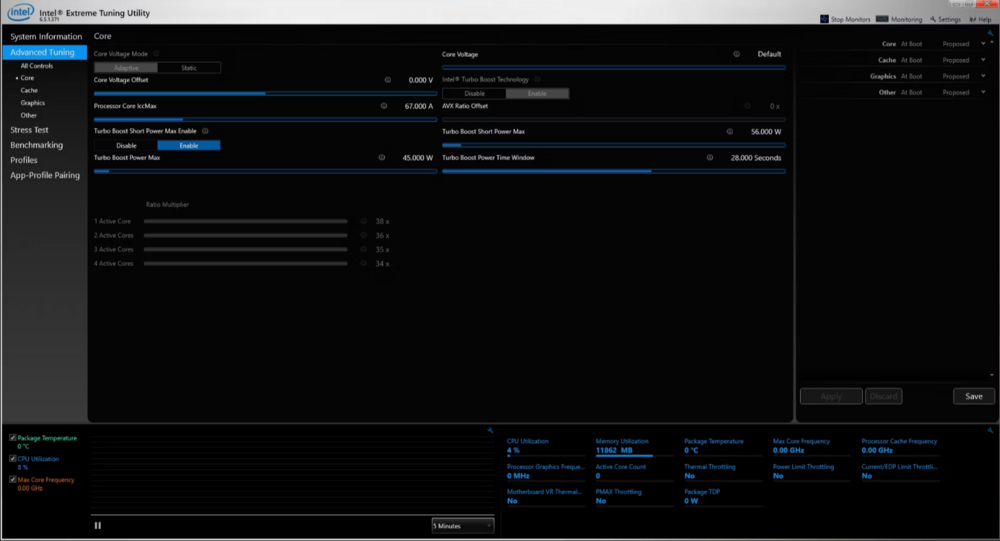
This is Intel's overclocking tool for Windows PCs, mainly for use with its own CPUs. Intel XTU allows you to overclock your CPU, monitor the temperature, and stress test your computer, with a few other special features for Intel CPUs and Intel motherboards. Furthermore, Intel XTU also gives you CPU utilization and temperature readings, which you can use to monitor the overclock's success and whether it is causing any performance issues. Download: Intel XTU (Free)
-
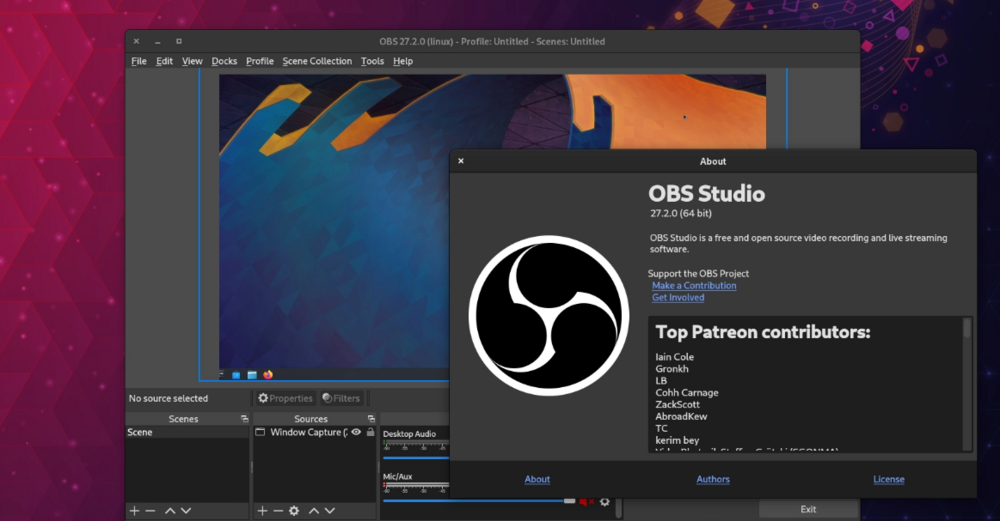
How to install OBS Studio on Ubuntu 20.04 LTS Install OBS Studio 27.2 in Ubuntu: The software package is available in Ubuntu default repositories, but old. For the most recent version, there are official Ubuntu PPA, Official Flatpak package, and community maintained Snap package. Option 1: Install OBS Studio via Ubuntu PPA: The official PPA may be the most favorite method, since it installs the app as the classic .deb. So far, the PPA contains 64-bit package for Ubuntu 18.04, Ubuntu 20.04, and Ubuntu 21.10. Press Ctrl+Alt+T on keyboard to open terminal. Next, paste the command below and hit Enter to add the PPA: sudo add-apt-repository ppa:obsproject/obs-studio Type user password (no asterisk feedback) when it asks and hit Enter to continue. After adding the PPA, Ubuntu 18.04 user need to manually refresh system package cache via command: sudo apt update Finally, either install the app via command: sudo apt install obs-studio Or update the software package using ‘Software Updater’ utility: Option 2: Install OBS Studio via Flatpak: The Fluthub repository offers the official 64-bit and 32-bit packages available to install in most Linux systems. The Flatpak package updates automatically and use the latest dependency libraries for best performance. However, it takes up more disk space! Firstly, press Ctrl+Alt+T on keyboard to open terminal and run command to install Flatpak daemon: sudo apt install flatpak Next, install OBS Studio as Flatpak using command: flatpak install https://dl.flathub.org/repo/appstream/com.obsproject.Studio.flatpakref Option 3: Install OBS Studio via Snap: Snap is another universal package manager that runs on most Linux systems. It’s developed by Canonical, the company behind Ubuntu. It updates automatically and takes more disk space as well. However, OBS Studio as Snap is NOT official package so far. Ubuntu user may install the Snap package easily from Ubuntu Software. Though, it’s v27.1.3 at the moment. NOTE: Snap, Flatpak, and Deb packages can be installed alongside with each other. So you may have duplicated app icons if more than one installed. Uninstall OBS Studio: To remove the Ubuntu PPA, open terminal and run command: sudo add-apt-repository --remove ppa:obsproject/obs-studio And remove the live streaming app .deb package using command: sudo apt remove --autoremove obs-studio To remove the Flatpak package, run command in terminal: flatpak uninstall --delete-data com.obsproject.Studio And clean up disk space via flatpak uninstall --unused. For the Snap package, simply use Ubuntu Software.
-
MSI Afterburner is the most used graphics card software for a good reason. It‘s reliable, works on any card (even non-MSI!), gives you complete control, lets you monitor your hardware in real-time and best of all: it’s completely free! MSI Afterburner is available completely free of charge and can be used with graphics cards from all brands. Download (MSI Afterburner) for free
-
Hamachi is a free hosted VPN from LogMeIn Inc. that enables secure network extensions in both personal and professional capacities. Hamachi is a virtual networking service that can be set up in minutes and enables secure remote access to your business network anywhere there is an Internet connection. Hamachi - https://www.vpn.net/
-
SoftEther, short for “Software Ethernet, is a powerful VPN software that supports Windows, Mac, Linux, Solaris, and FreeBSD. its has a old dated interface; but that is the only issue i find with it and the vpn features such as a free VPN Azure cloud service, and top-notch security it provides make up for it. SoftEhether VPN - https://www.softether.org/
-
Radmin VPN as an excellent software for creating virtual VPNs. The program allows users to securely connect computers, located behind firewalls. Radmin VPN - https://www.radmin-vpn.com/
-
Please do not spam the board with external links to non gaming related content or redirects. You will be immediately banned indefinitely.
-
Setting Controller in pairing mode Joy Con / Switch Pro Hold down the sync button until the controller LEDs enter a back n’ forth pattern. DualShock / DualSense Hold at the same time the PS + Share buttons until the lightbar starts flashing in a heartbeat pattern. Sony DualShock 4 USB Wireless adapter The official adapter from Sony supports only 1 controller, but allows the headphone jack to be used wireless for both audio and mic. To pair a DualShock 4 to it, both must be set to pairing mode. For the Wireless Adapter, its main body must be slightly pressed towards the USB port (until a “click” is felt) then hold it down in this position for 3 seconds, with its LED flashing in a heartbeat pattern indicating that it’s in pairing mode. Set then DualShock 4 into pairing mode (check the previous section) and it it should connect to the adapter. Final Checks Assuming everything is working as expected then DS4Windows should have no trouble detecting your controller, just make sure you haven’t accidentally stopped DS4Windows (in case you have, just press DS4Windows’ start button) If for whatever reason DS4Windows is failing to detect your controller or you are not sure if it has been properly connected, check the Controller Detection troubleshoot page.
-
- 1
-





.thumb.jpg.f4c8576dad5b9a020b24fcb42f60608a.jpg)
